Node Tools for Visual Studio is currently in Alpha 1.0 and its free and opensource, in this post I will show you how to install Node and Node Tools for Visual Studio (NTVS).

NTVS
First lets install Node.js
Download Node from http://nodejs.org/
The currently version is node-v0.10.26-x64
Step one lets run the msi that we just downloaded from nodejs.org
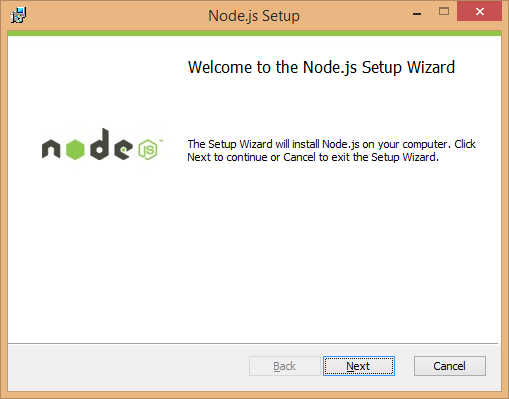
Node Install
Read and Accept the License Terms and Conditions and click on next.

Node Install Screen 2
I have chosen the default location which is C:\Programs Files\nodejs
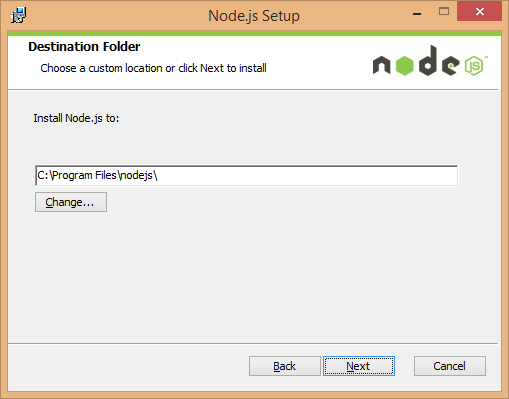
Node Install Screen 3
Remember to install npm, Node Package Manager is the package manager for node, similar to NuGet for .NET

Node Install Screen 4

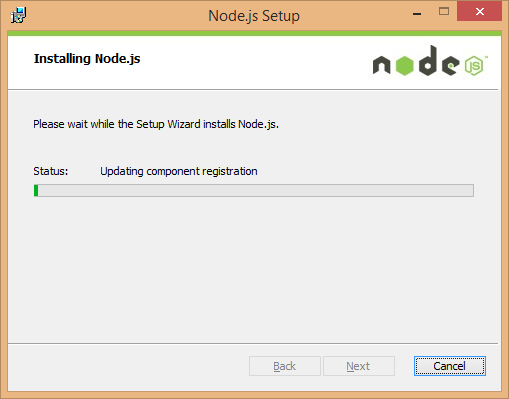
Node Install Screen 5
Node Install Screen 6
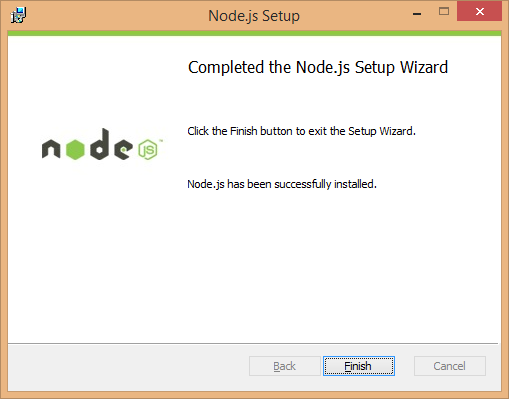
Node Install Screen 7
Finally we will verify with command prompt if node was installed properly by typing the command node -v
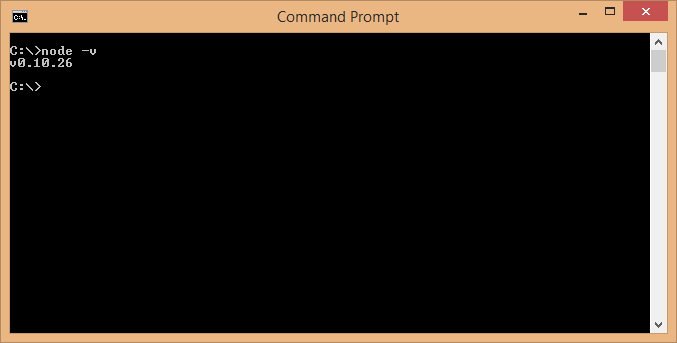
Node Verification screen
Now lets install the NTVS tools for visual studio.
Download it from http://nodejstools.codeplex.com/
I have downloaded the Visual Studio 2013 version of it, it also comes with a 2012 version.
Let run the NTVS 1.0 Alpha VS 2013.msi
Read and accept the terms and condition and click install
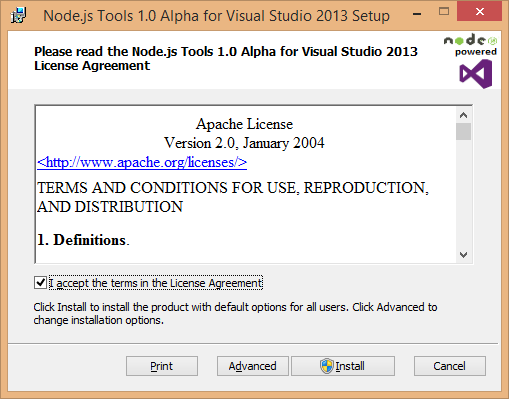
Node Visual Studio
Now we will lauch Visual Studio 2013 and go to the JavaScript section, one will find templates for Node.js
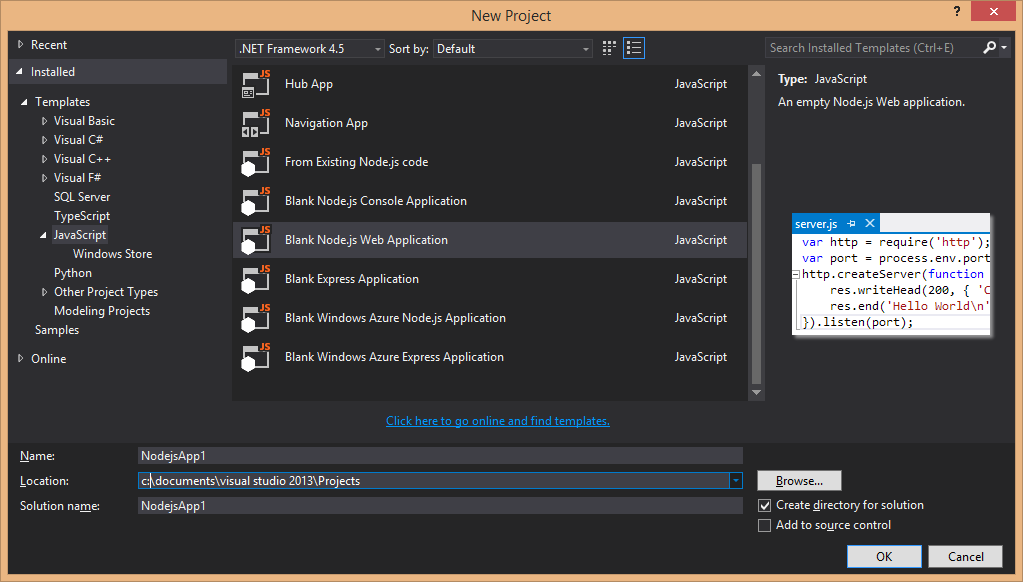
NTVS
In my next post we will go through and write a simple node and express web application.

Leave A Comment