
In this post I will show how to use Grunt Launcher in Visual Studio 2012, there is also Task Runner but it only works in Visual Studio 2013, and there are no plans to making it to work in 2012. 🙁
No worries since there is Visual Studio Grunt Launcher that one can use in Visual Studio 2012.
First you need to get over and download and install Grunt Launcher, go ahead and I will wait here till the install process finish.
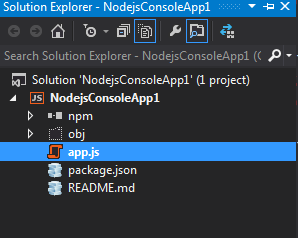
Ok done ? Lets continue and make a new node project.
Create a Node app, and launch the npm package manager by right clicking on the project.
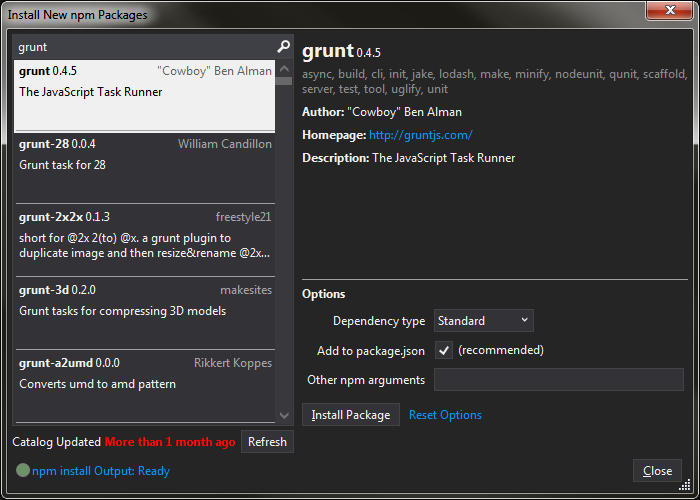
Search and install grunt from the npm console.
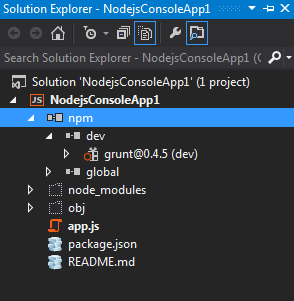
We can verify that grunt is installed by expanding the npm folder in our solution. As shown below we have installed as a dev dependency.
Once we are done we can now add our grunt file that will have all our grunt task.
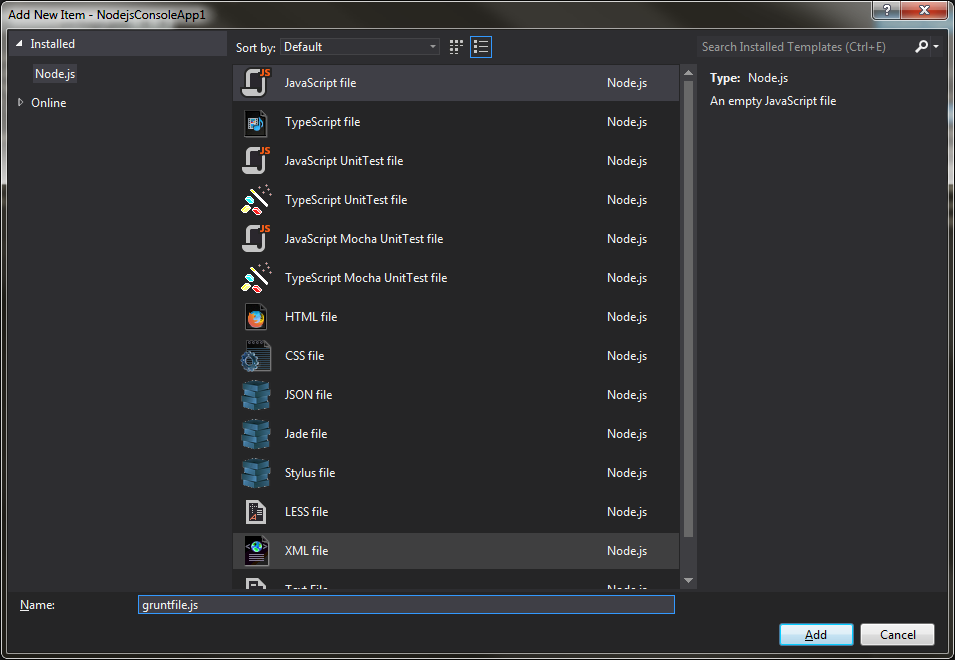
In our grunt file we will add a simple hello world task like below
|
1 2 3 4 5 |
module.exports = function (grunt) { grunt.registerTask('default', function () { grunt.log.writeln("Hello world grunt"); }); }; |
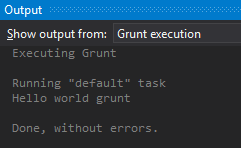
Right click on the npm icon in the project solution and you will get the context of grunt, from there one can choose the task they wish to execute. The out out is shown in the output window.
Warning: If you have WebEssentials installed this may not work , if that is the case you can always execute using your command prompt. Right click on your project and “Open Command Prompt Here…”, type grunt in the command prompt it will run the default task for you.
If we add another task inside the gruntfile like below we will be able to run the grunt command with the name of the task
|
1 2 3 4 5 6 7 8 9 10 |
grunt.registerTask('hello', function () { grunt.log.writeln("Hello world grunt 2"); }); //command prompt to run $grunt hello Running "hello" task Hello world grunt 2 Done, without errors. |
In my next blog post I will continue on grunt and explain more in details of task you can complete with using grunt.

Leave A Comment