In this post I wanted to go through the process of Redis running in Azure. Redis in Azure is called Azure Redis Cache. Azure offers a secure access to a dedicated Redis cache, which allows you to connect from any Azure applications.
There are certain tiers that are offered in Azure Redis:
- Basic
- Standard
- Premium
I wont be going through each of them, since Azure does a good job in explaining the differences between the tiers but for this post we will be using the Basic.
First you will need to login to your Azure portal.
Once logged in.
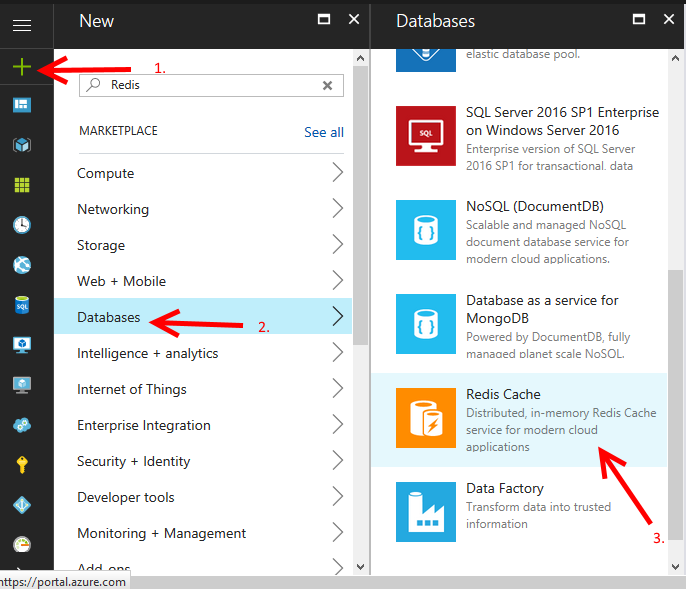
- Click on New (+) sign, and it will open up the New Section
- Select the Databases option
- Select Redis Cache
redis-azure1
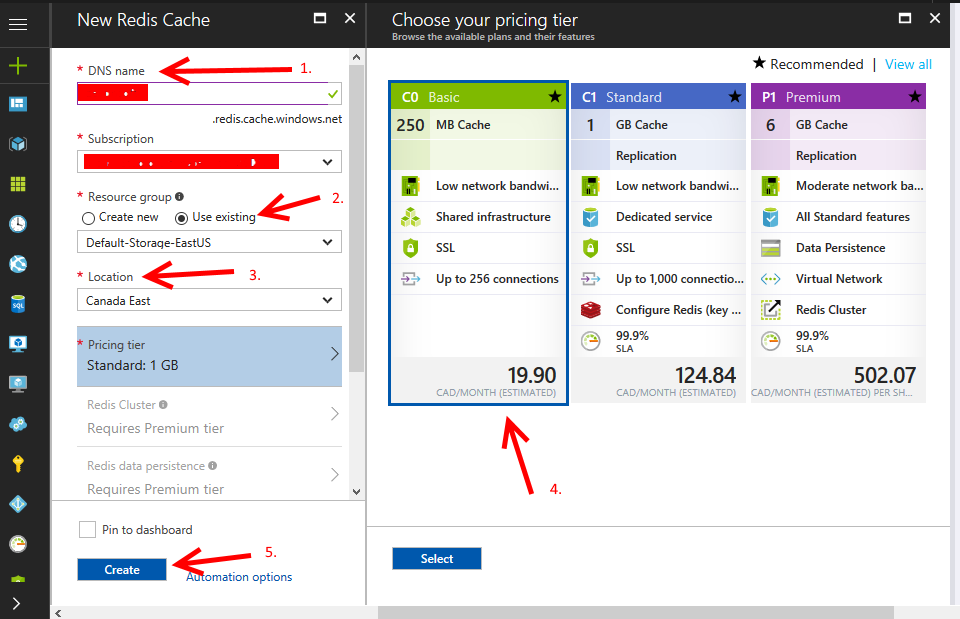
Once you have selected the right option, then it is just 5 clicks away to create Redis
- Select a DNS name that is not used.
- Select your Resource Group.
- Select your Location.
- Select your pricing tier (I have selected Basic here, but feel free to choose the one that satisifies your needs)
- Click on Create.
redis-azure2
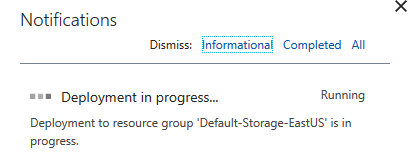
- It takes a bit of time to create it, but you can see the progress.
redis-azure3
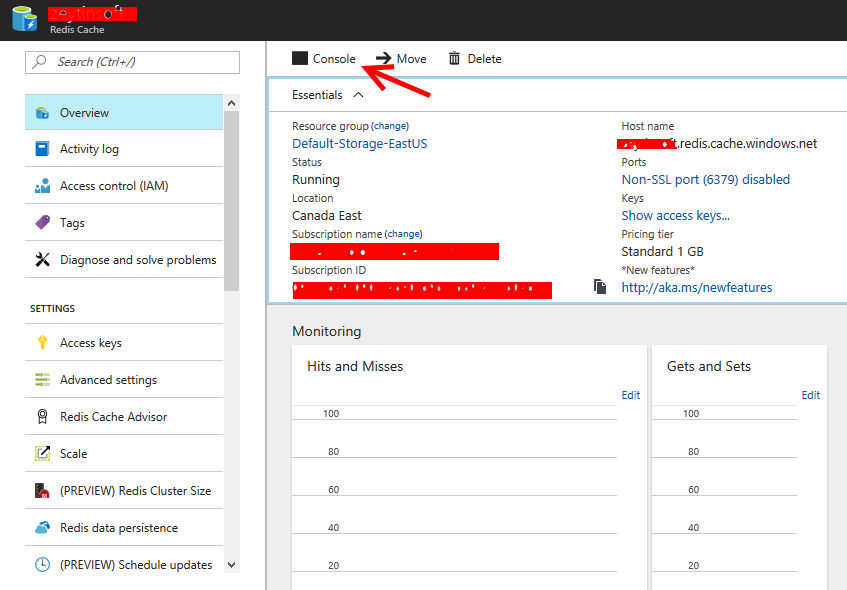
One can access Redis using access keys and one can test it by launching the console.
Azure-Redis-Cache
The Console allows one to use Redis commands.
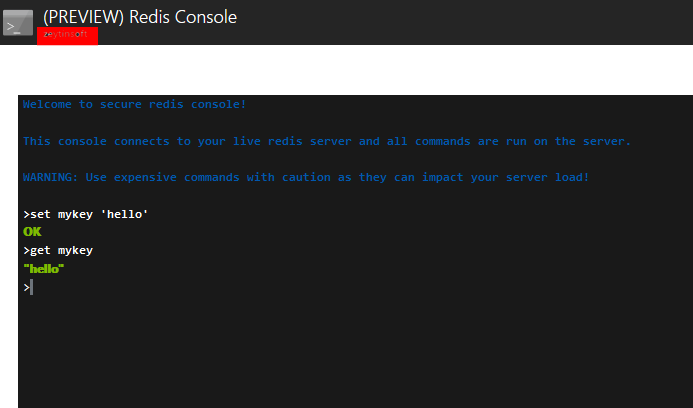
Azure-Redis-Preview-Console
When using StackExchange.Redis you can connect to the Redis instance, the information to connect to Azure is located in the Azure portal under Settings > Properties, one can use the sample code below to connect.
|
1 2 3 4 5 6 7 8 9 10 11 12 |
private static Lazy<ConnectionMultiplexer> lazyConnection = new Lazy<ConnectionMultiplexer>(() => { return ConnectionMultiplexer.Connect("whatever.redis.cache.windows.net,abortConnect=false,ssl=true,password=..."); }); public static ConnectionMultiplexer Connection { get { return lazyConnection.Value; } } |
For other Redis topics
- Intro to Redis for .NET Developers
- Redis for .NET Developer – Connecting with C#
- Redis for .NET Developer – String Datatype
- Redis for .NET Developer – String Datatype part 2
- Redis for .NET Developer – Hash Datatype
- Redis for .NET Developer – Redis running in Docker



Leave A Comment